How LIMS Sample Storage Management Provides End-to-End Traceability
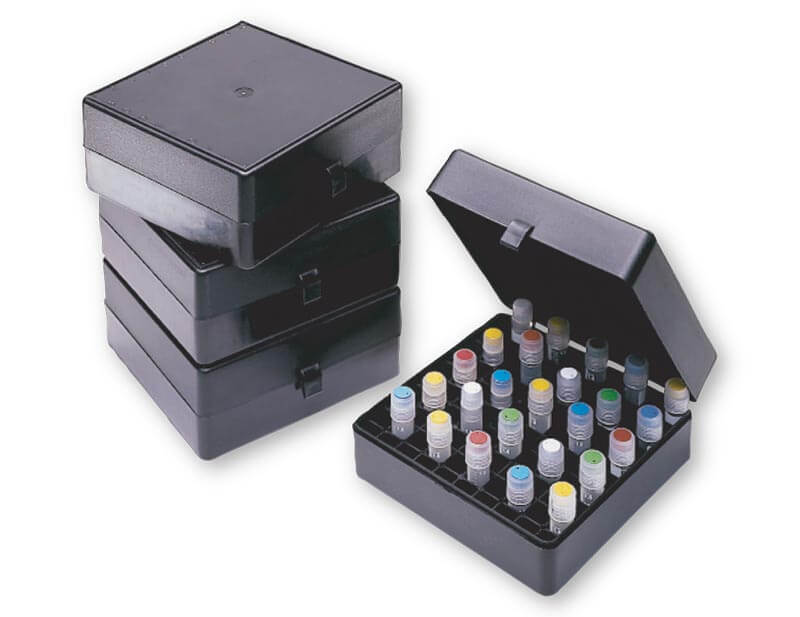
Can your team track every sample from receipt through testing, storage, and beyond?
Anyone who works in a lab will tell you that samples are like gold. Misplacing even one sample can disrupt testing, delay results, create compliance concerns, and cost your team valuable time.
That’s why laboratories need continuous traceability built into their sample management software. Your team should be able to quickly determine where a sample is stored, its current status, where it has been, and who has handled it throughout its lifecycle.
Having a complete, up-to-date view of sample storage, location, and status helps laboratories reduce errors, maintain chain of custody, and keep workflows moving efficiently.
Watch our video demonstrating Lockbox LIMS storage management capabilities!
For many labs, especially those operating in regulated environments, sample tracking involves much more than knowing where a tube or container is located. Labs need a sample tracking software solution that can manage sample locations and status while also supporting security, data integrity, traceability, and compliance requirements.
Why Spreadsheets Aren’t Enough for Sample Storage Management
If you manage a smaller lab, you may feel that your current method for tracking samples works just fine. An Excel workbook, Google Sheets, Access database, shared document, or even handwritten records may seem sufficient when sample volumes are manageable.
The problem is that these methods depend heavily on manual activity.
Accurate sample storage information, movement between locations, testing status, and chain of custody all rely on someone remembering to enter the right information in the right place at the right time.
That’s a recipe for sample management problems, regardless of the size of your lab.
At best, you have an inefficient record-keeping process that takes valuable time away from laboratory work. At worst, you risk misplaced samples, outdated location information, incomplete records, or uncertainty about who handled a sample and when.
The storage management functionality within a Laboratory Information Management System (LIMS) provides a more structured approach. A LIMS can centralize sample information, provide greater visibility into storage locations, improve efficiency, and create the traceability laboratories need throughout the sample lifecycle.
But how does a LIMS manage sample storage?
It starts by digitally modeling the way samples and storage are organized in your actual laboratory.
Step 1: Create Your Sample Storage Locations
To begin modeling your sample storage architecture, start at the highest level: the physical locations within your facility.
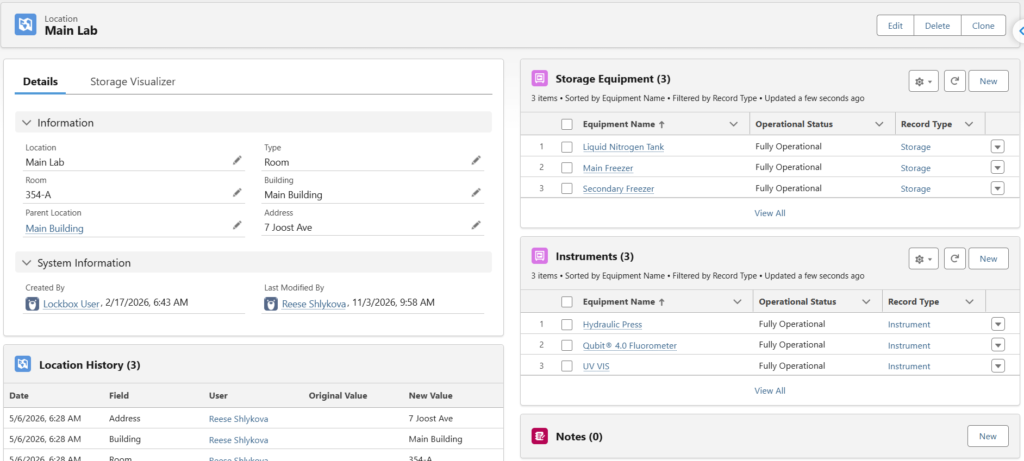
Each room or area through which a sample might travel can be represented in your LIMS as a location. This might include laboratory spaces, sample receiving and accessioning areas, storage rooms, or other areas where samples are handled or stored.
You may also need to create sub-locations to define specific areas within a larger laboratory.
For example, if your team refers to a “front” and “back” area of the lab, you may have storage equipment in both places that needs to be accounted for. Within your LIMS, you could create a parent-level location for the laboratory and child-level locations representing the front and back areas.
For laboratories operating across multiple sites, that hierarchy can extend even further. Each facility can have its own rooms, storage equipment, and organizational structure, giving teams a consistent way to manage sample storage across multiple laboratory locations.
This creates a digital hierarchy that reflects your physical laboratory environment.
Giving sample storage locations this level of specificity makes it easier for staff to quickly understand where a sample is and how that location relates to the rest of the laboratory.
Step 2: Define Your Sample Storage Equipment
Next, move one level deeper into the sample storage hierarchy by creating records that represent your storage equipment.
Depending on your laboratory, this may include:
- Refrigerators
- Freezers
- Ultra-low-temperature freezers
- Nitrogen tanks
- Shelves
- Racks
- Other specialized storage equipment
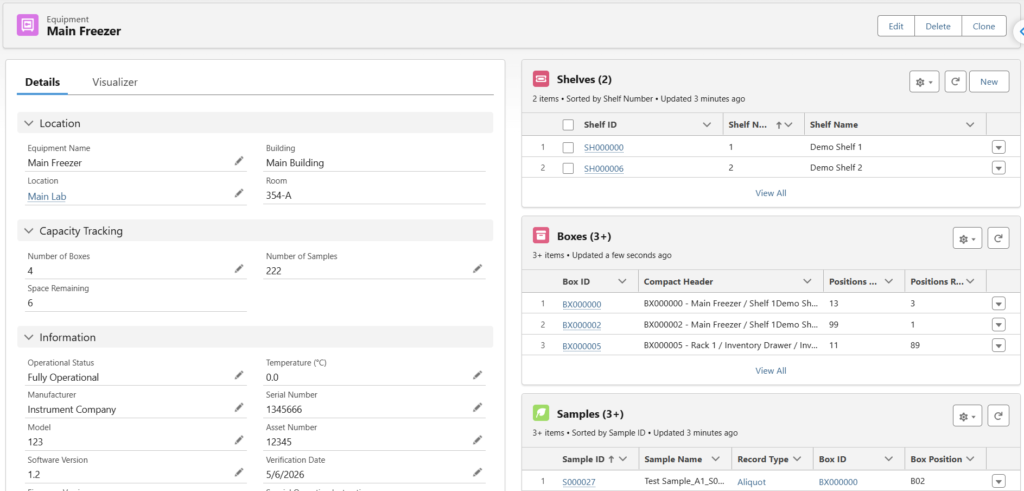
Each type of storage equipment can have a different physical configuration. A refrigerator might contain shelves, while a freezer could contain shelves, racks, boxes, and other subdivisions.
Your LIMS should also function as freezer management software that supports configurable sample storage structures.
Why does this matter?
Because the more precisely your digital storage structure reflects your physical environment, the easier it becomes to locate samples.
One freezer may have a completely different configuration from another. Your LIMS should allow you to capture those differences rather than forcing every piece of storage equipment into the same structure.
After creating and configuring your storage equipment, each unit can be associated with the appropriate physical location created in Step 1.
Now your team can see which equipment is located in which room or area and understand how each storage unit is organized.
Step 3: Create Boxes, Plates, and Other Sample Containers
Once your storage units have been established, you can continue moving down the hierarchy to the containers that actually hold your samples.
Depending on your workflows, these might include boxes, plates, tubes, or other laboratory containers.
For example, a LIMS can allow you to configure the dimensions of a storage box and visually represent the position of samples within it. Instead of simply knowing that a sample is “in Freezer 2,” your team can identify the freezer, rack, box, and exact position where that sample is stored.
Visual storage tools such as box maps make it easier to see occupied and available positions and quickly identify where individual samples are located.
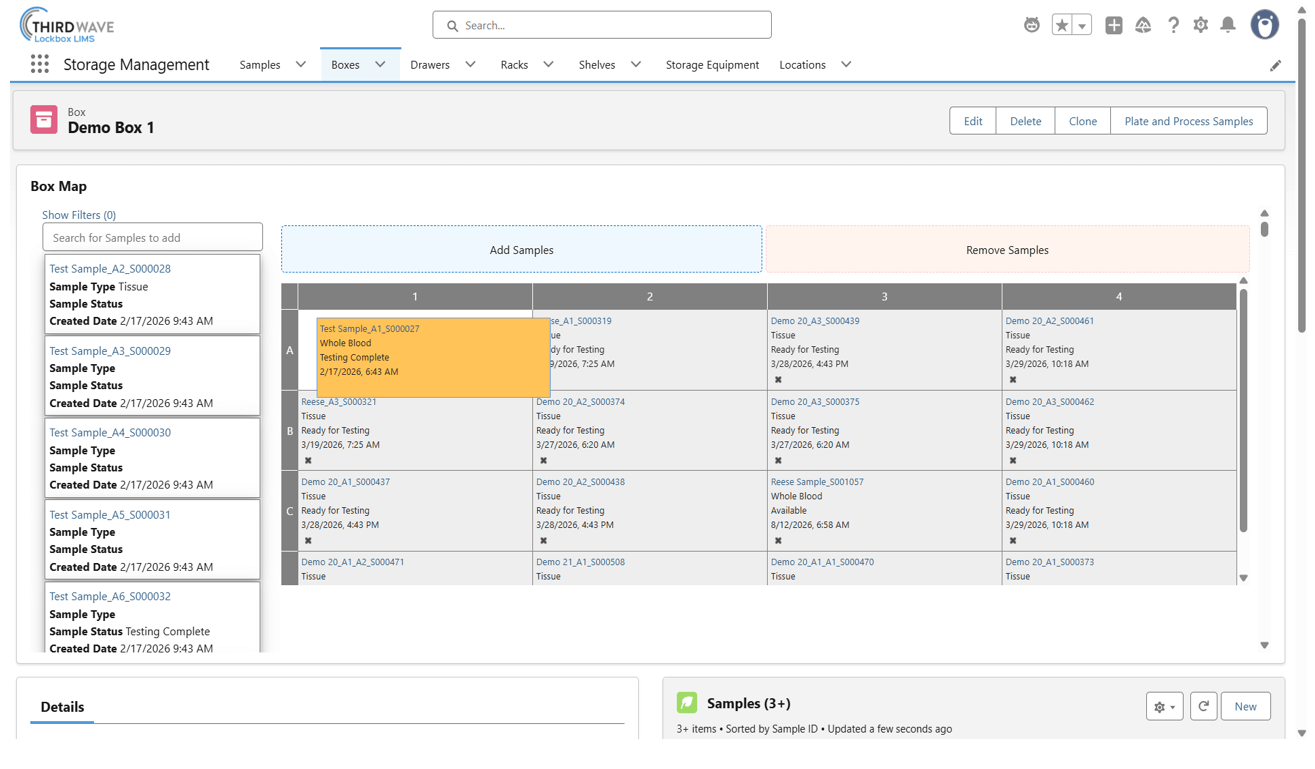
Similarly, samples can be assigned to plates and other containers as they move through laboratory workflows.
Each container can then be associated with the appropriate rack, shelf, freezer, refrigerator, or other storage location, creating a complete storage hierarchy from the individual sample all the way up to its physical location in the laboratory.
Step 4: Track Sample Movement with Barcode Scanning
Knowing where a sample started isn’t enough. Laboratories also need to know where it goes next.
Samples may move from receiving to testing, from one storage unit to another, from a box to a plate, or between multiple laboratory workflows before returning to long-term storage.
Barcode labeling and scanning can make these movements faster and more reliable.
Rather than relying solely on manual data entry, laboratory staff can scan samples as they are received, transferred, processed, or returned to storage. This creates a more efficient way to update sample locations while reducing the risk of transcription errors.
Combined with a LIMS, barcode-based workflows provide teams with an up-to-date record of where samples are located throughout their lifecycle.
Step 5: Monitor Sample Conditions and Quality
Knowing where a sample is located is critical, but effective sample storage management also means knowing whether that sample remains suitable for its intended use.
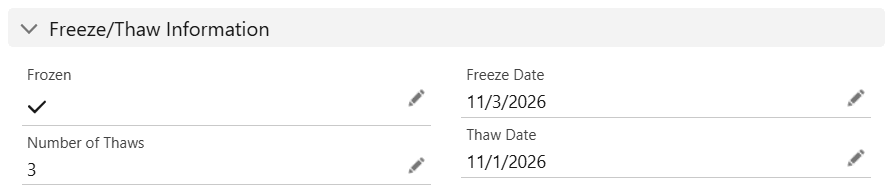
Depending on your laboratory and sample types, factors such as freeze/thaw cycles and expiration dates can be important to sample quality and integrity.
Lockbox LIMS can track the number of freeze/thaw cycles a sample has undergone, giving laboratory teams greater visibility into a sample’s history as it moves in and out of storage.
Labs can also manage sample expiration dates and configure email notifications for quality control events. Instead of relying on separate spreadsheets, calendars, or manual reminders, teams can keep important sample information connected to the records they already use to manage their work.
Together, these capabilities provide a more complete view of each sample, helping teams understand not only where it is, but also important information about its condition and usability over time.
The Result: End-to-End Sample Traceability
Once you’ve created this digital storage ecosystem, your team can take full advantage of LIMS-based sample storage management.
Each user can see the location of a sample by viewing the storage details associated with its record.
Those details move progressively through the storage hierarchy, from the smallest designation to the largest. For example:
Sample position → Box or plate → Rack or shelf → Freezer or storage unit → Laboratory location
Instead of searching through spreadsheets, checking multiple systems, or physically looking through freezers, users have a centralized view of where a sample should be located.
But knowing a sample’s current location is only part of the story.
As samples move from room to room, from one storage unit to another, or between boxes and plates, a LIMS can maintain a history of those movements. This provides traceability into the sample’s chain of custody, including when movements occurred and who performed them.
For laboratories managing aliquots, derived samples, or other complex sample relationships, visibility into sample lineage can provide another important layer of traceability. Teams can understand not only where a sample is stored, but also how related samples connect throughout laboratory processes.
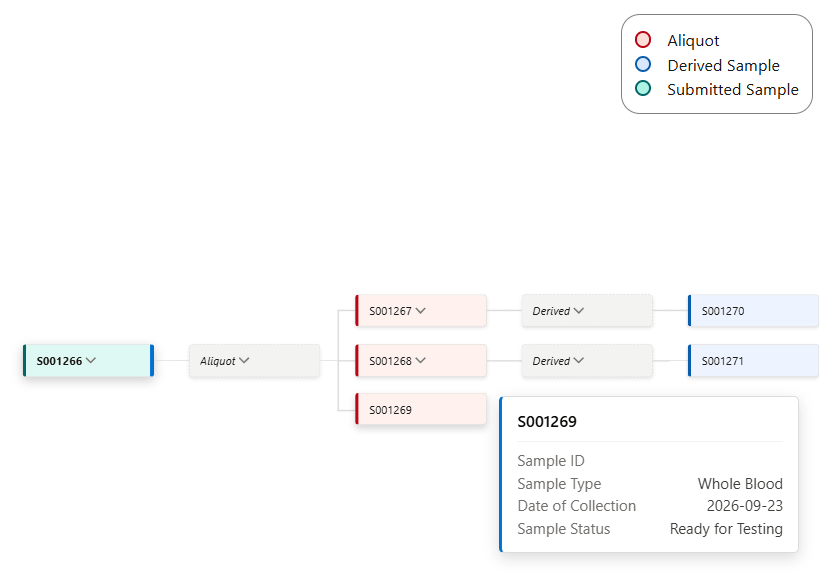
The result is a more complete picture of each sample’s lifecycle.
Better Sample Storage Starts with Better Visibility
Treating every sample like gold means knowing where it is, where it has been, and what has happened to it.
A LIMS gives laboratories a structured way to manage that information throughout the sample lifecycle. With configurable storage hierarchies, visual box maps, barcode scanning, sample lineage, and chain-of-custody tracking, teams can spend less time searching for samples and more time moving laboratory work forward.
Clear. Organized. Traceable.
That’s what effective sample storage management should look like.
It’s time to explore how Lockbox LIMS can work for you and allow you to return your focus to science.